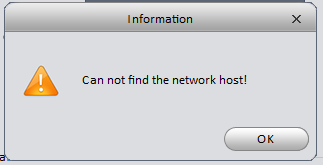
This means you may need to change the IP address on your PC (or possibly the NVR, or maybe even both!).
These steps will describe how to change the IP address of your PC.
- Right Click the Windows Start button
- Click Network Connections
- On the Network Settings screen - click Ethernet
- Click Change adapter options
- Right-click Ethernet and select Properties to bring up Ethernet Properties
- Click Internet Protocol Version 4 (TCP/IPv4)
- Click Properties - to bring up the Internet Protocol Version 4 (TCP/IPv4) Properties dialog box.
- Click Use the following IP address
- For IP Address enter: 192.168.1.11 (or whatever IP address your IT Admin gives you)
- For Subnet mask enter: 255.255.255.0 (unless your IT Admin tells you differently)
- For Default gateway enter: 192.168.1.1 (unless your IT Admin tells you differently)
- Click OK
- Click Close on the Ethernet Properties dialog box.
Video on Setting Ethernet IP Address