Follow these steps to update your email server to your own server.
- Login to InVidiaCloud
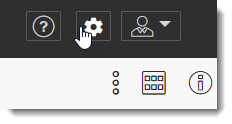
- In the upper-right corner is a Gear Icon. Click the Gear Icon. This will take you to the Management Console
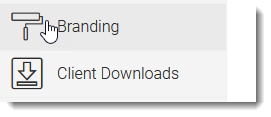
- On the left side click the BRANDING Icon
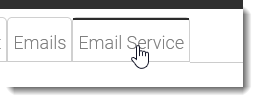
- Click on the Email Service tab at the top of the screen
- In the Upper-Right Corner click EDIT
- Here’s the info needed to use your own email server. Show this to your IT contact and they’ll know exactly what information to provide you.
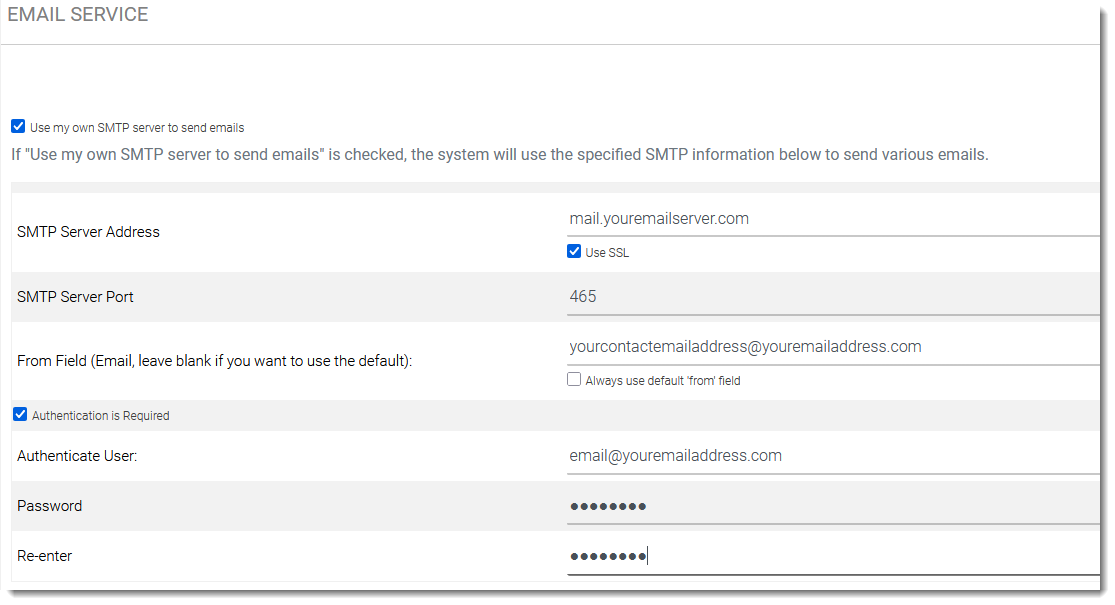
- When you’ve entered all the information, click APPLY in the upper-right corner.
That will set your own email server as the outgoing server instead of the generic, catch-all email service InVidiaCloud provides.
All emails going forward will be sent from your email service.
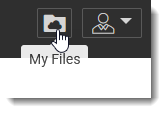
NOTE: One last thing. To get back to the file folders, simply click on the Folder icon in the upper-right corner.